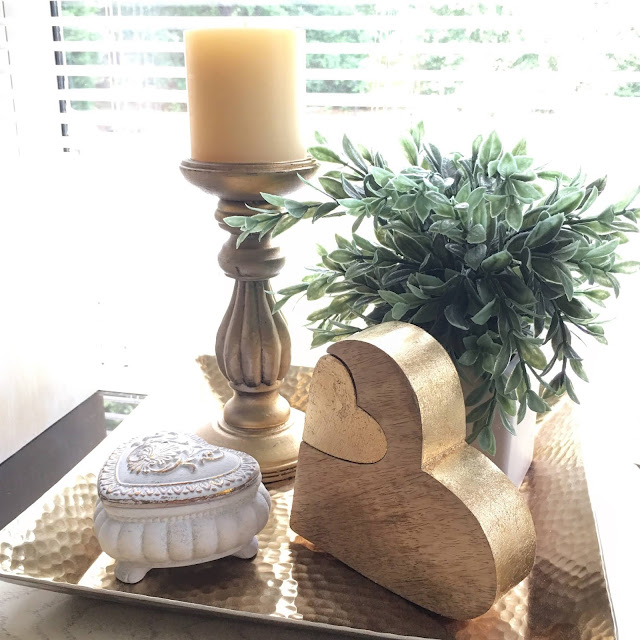
My first experience using gold leaf, and I’m in love!
This gift from my daughter, a wooden heart with a little heart cut out had silver leaf where I have added gold leaf! She said as she gave it to me “I know you’ll probably chalk paint this!” She knows my love for gold, and for changing items to better suit my taste, or for using paint to do so!
Painting it just wasn’t going to do it, and since it already had silver leaf on it, I figured gold leaf was definitely the way to go! I love this beautiful heart set all the more now!
Materials needed:
leaf metal
metal adhesive
small paintbrushes
I purchased my supplies at the craft store. The Leaf metal and metal leaf adhesive, they were about fifteen bucks total, and I had some small paintbrushes on hand already. There are easy to follow instructions on both items. There was more than enough materials to do this project and I have plenty left over. This project was super easy, a little messy, but easy! It took some drying time for the adhesive to become tacky, but the project didn't take long overall.
Basically all that is needed it brushing on the metal adhesive, let it dry until tacky, then use small torn pieces of the metal leaf and place on the tacky areas, then brush or rub over the metal covered areas.
The edge of the large heart here is finished, the small heart is still in the original silver leaf. I just prefer gold more than silver!
I'm so pleased with the results!
It was a fun and rewarding project! Now I’m looking around my house and wondering “hmmm, what else can I gold leaf!”
PS: I did chalk paint the other heart piece here, it once was all gold - I used white chalk paint to paint it and then after dry wet sanded away the paint on the raised design revealing the gold detail.
I am so pleased with the results of these beautiful heart items!


