Free Christmas Printable: Christmas Traditions


After seeing a few cute prints at some of the home accent stores, I decided to create a printable for myself.  And after seeing something similar, I created this graphic of a list of favorite Christmas Traditions to print and use in a photo frame to display during the holidays.  I printed it first as an 8 x 10 size to use in an 8 x 10 frame.  I also experimented and printed one in a 5 x 7 size to center in an 8 x 10 frame, or use in a 5 x 7 frame. 

They are an inexpensive and easy way to add to your holiday decorating.  So easy to print off and add to inexpensive frames too, the dollar store comes to mind here folks!  I created mine in just a few minutes, printed it in different sizes and had a couple to enjoy in different rooms.  You can download a copy for personal use.  Click on the image below, then right click on it to choose "save image as..." to save to your computer.  I simply used my printer settings to choose the size to print!  


Happy crafting!...


Monday Message


~ My Monday Message ~


* Merry Christmas Wishes *

From my heart and home to yours!...


Get it together with "Project Life"


On a recent visit to one of my favorite places to shop for my crafting needs and lovely home decor must haves, Hobby Lobby, I noticed something I hadn't seen before. 
Have you ever seen or heard of "Project Life," and all of the goodies available for it?  If you know all about it already, then I'll bet you are enjoying it and all that there is to offer.

Project Life, created by Becky Higgins, if you haven't heard of it, is a simple way to create scrapbooks and document your life, and record moments to remember in an easy no-need-to-be-a-crafter kind of way!  Even if you have never made a scrapbook before, you can do this!  If you are a scrapbooker you'll also find this to be the easiest way to make a scrapbook, ever!  You don't even have to cut or glue anything.  It was a jaw dropping moment for me when I happened across the Project Life display area and learned of it.  I'm telling you it's so simple.  It is totally fantastic!  It's absolutely brilliant!    

All that is needed to start your own Project Life scrapbook is a Project Life Album, Photo Pocket Pages, a Core Kit containing the Project Life Cards, along with your own personal photos.  You simply place your photos in the Project Life Pocket Pages and you add the Project Life Cards, and you can add your mementos and memorabilia too.  You can even fancy them up all the more if you like!  There are ideas and many goodies on the website to entice you.  You'll find lots of helpful information and also some freebies that you can download, and who doesn't like freebies, huh?  Check it out here http://beckyhiggins.com/ there is lots of information and ideas there.  Most everything for Project Life can be found on the Project Life website, and their items can also be found in many craft stores too!

With the holidays approaching this would certainly make a fantastic gift for that special someone on your list!


Here are some of the items that were available at the craft store!  Lots of variety and choices!


- Project Life Core Kit -
Contains lots of fun and colorful cards, you can add notes to them too.  
These cards are easily slipped into the Photo Pocket Pages.


-  Project Life Organizational Tray -
 Helps to organize the cards.
(more of the fun and colorful cards included)


* * * 


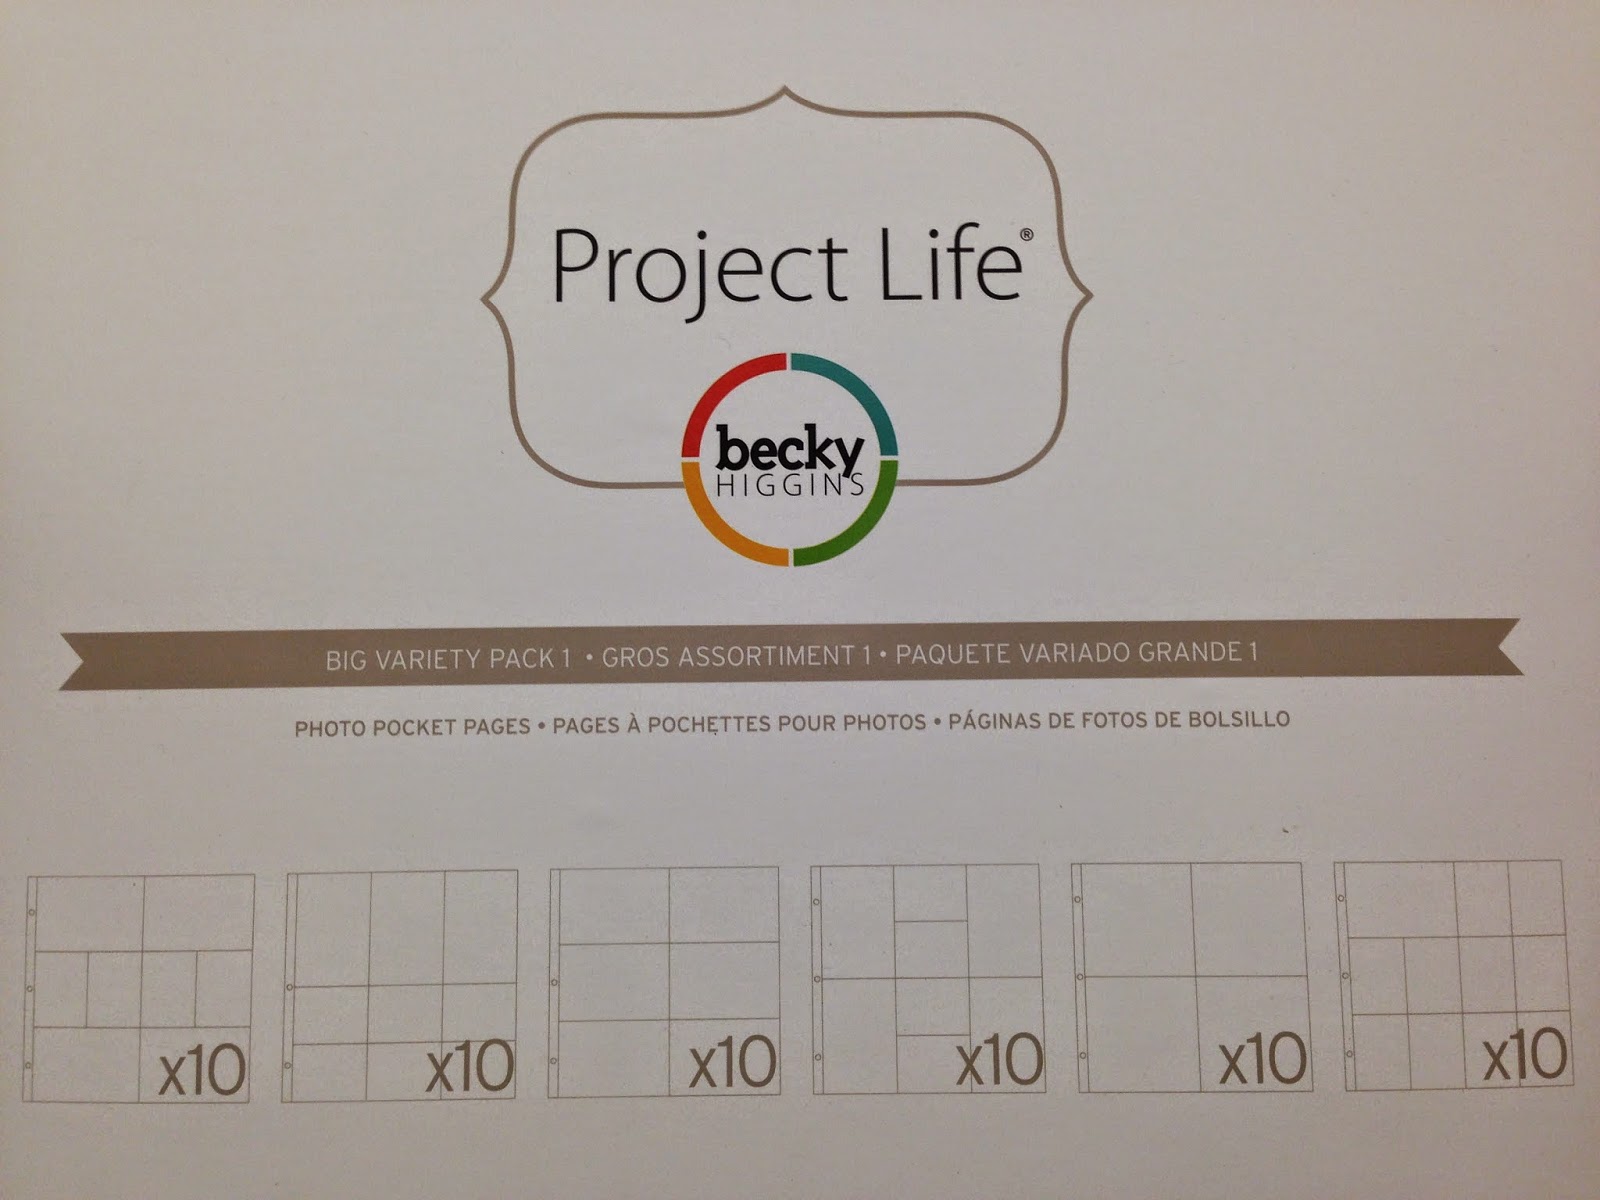
- Photo Pocket Pages -
There are different sized packs with a variety of assortments.
You simply add the cards and your photos to the pages!  You set the pages up the way you like them!
You can add notes and other memorabilia too!


* * *


- Project Life Albums -
Lots of styles to choose from.

* * *


An example of what you can create with all of the Project Life goodies and your own photos.

* * *


This was above the area where all the Project Life essentials were on display!  
That is a photo of the lovely and talented Becky Higgins, the creator of Project Life!
I like the message there..."cultivate a good life and record it."
Project Life makes recording it so simple and easy to do just that!


What a fun way to record your life!...


Holiday Wreaths


I love the look of a wreath hanging on the front door, welcoming visitors, and dressing up the look of it from the outside, and also on the inside for something pretty to look at there as well!  I also like to hang a wreath from each of several windows outside my home for a beautiful look for Christmas.  

I enjoy making wreaths and I do make most of my own.  The holidays are the perfect time to make wreaths, and I like to have several around the house at that time.   Most supplies to make them are easily found around the holidays, and the after holidays sales are great opportunities for those items too!   

Here are a few of my handmade holiday wreaths that I've featured before.  Each one was easy and didn't require a lot of time, money, or materials to create.  I've heard others say, "I'm not crafty, and I don't have the time or extra money to make something."  I know I've said it before, but I feel that if I can do it, anyone can!

You don't have to spend a lot to make something beautiful.  A simple grapevine or evergreen wreath and pretty bow is all that's needed to make a wreath.  You could add more embellishments to dress it up, such as ribbon, ornaments, or use floral picks that you can tuck into the wreath.   I also like to change-up my wreaths and re-purpose them for different seasons too!  I hope these simple and easy wreaths, and suggestions, give you some ideas and inspire you to make a new wreath, or two, or more...


Evergreen and Gold Wreath

This beautiful wreath was created using only a few items and was simple to put together!
You can view more about this wreath and how I made it here.


Snowman Wreath

Just a few items pulls this cutie together in no time at all, and the items can be found at the dollar store!
You can view a tutorial and more about this wreath here.


Winter White Wreath

This wreath is surprisingly simple and inexpensive to create!  Items you probably already have on hand will have you making it in a short amount of time.  The kiddos can help with this one too!
You can view a tutorial and more about this wreath here.


Glittery-Gold & Gladiola Wreath

This wreath I actually made in the summer, but it works nicely for the holidays as well! 
I tucked in some fall colored leaves and a couple pine cones and displayed it as a pretty fall wreath this year also.
You can view more about this wreath and how I made it here


Happy Holidays and Happy Crafting!


Over 30 fun and inexpensive Christmas gift ideas!


Happy Holidays everyone!  If you haven't started on your gifts list yet, welcome to my world!  Well I have done a bit in preparation, but I am far from finished.  Need a little help with some ideas?  Here are over 30 fun and inexpensive gift ideas you can create, to wish your neighbors, friends and family a Merry Christmas.  These would work well for Teacher gift ideas too!  

Simply add one of the cute sayings below to a wrapped treat, to make something they will enjoy and also remember!  There's plenty of time for you to choose a project, buy the supplies and get them finished before Christmas!  This list should help you if you are wondering what to give some of those who are on your list.  Give them a little gift that won't break the bank, but will let them know you thought of them! ...and hey, it's the thought that counts, right?!  


I have shared this sweet idea before, it's one of my favorites from the list!


Hershey's Kisses in a whisk: We 'Whisk' you a Merry KISS'mas!


I think most everyone likes to get kisses, especially of the chocolate variety! 


Hershey's Kisses, a whisk, and just a few items is all you need to create this sweet gift!  You can see how to make these with the tutorial here.


Here's the list of gift ideas!

Any sweet treat:  Wishing you a Christmas filled with sweetness! or season/holiday
Cookies: Here's a batch of Christmas cheer, for someone we think is dear! or friends we think are dear!
Cookie sprinkles: May your Christmas be sprinkled with sweetness!
Hershey's Kisses in a whisk: We 'Whisk' you a Merry KISS'mas!
Hershey's Hugs & Kisses: Christmas Hugs and Kisses to you.
Candle: May your days be happy, your heart be light, your Christmas merry and the New Year bright.
Candle: Have a bright and happy holiday.
A pencil/pen and notepad: Merry Christmas to a "noteworthy" friend! or neighbors! From our pad to yours.
Snickers candy bar/bars: Don't "snicker," at least you got something! or be glad you got something!
Snickers bars and Almond Joy bars: It's a "joy" to make you "snicker"!  It brings us "joy" to "snicker" with you!
Dip: To help you dip into the holidays.
Jar of jam: Hoping your Christmas is "jam-packed" with cheer.
Berry Jam: Have a "berry" nice holiday season! or Have a "berry" Merry Christmas!
Cookie dough or Cookie mix: Here's a little extra "dough" for Christmas.
A plate of cookies:  Wishing you a "Merry Christmas," from your "crummy" neighbors!
Cash or gift card:  Here's a little extra "dough" for Christmas.
Measuring cups/spoons: Wishing you joy beyond measure.
Grater: To a "grate" neighbor!
Nuts: We're just nuts about you! or From your "nutty" friends! or use both.
Chex Party Mix: Remember Santa "Chex" his list twice to see who's been naughty or nice, so be good for goodness sake!
Muffins or Muffin mix: There ain't "muffin" like good friends.
Soup or soup mix: Wishing you a "soup-er" holiday.
Salsa: Adding a little "spice" to your Holidays.
Spices: Here's a gift to spice up your holidays.
Divinity: May your Chrismas be "divine" and your holiday so fine.
Rice Krispie treats: Having you as friends is such a treat!
Bread/Banana bread: Bundled up with 'warm' wishes.
Sparkling cider: Wishing you a "sparkling" holiday season!
Oranges or Chocolate Orange: "Orange" you glad we're friends? or "Orange you glad it's Christmas? Hope your Christmas is a sweet one.
Ho Hos and Ding Dongs:  Ho Ho Ho and Merry Christmas, from the Ding Dongs next door!
Cornbread or mix: We're not trying to be "corny," we just want you to have a Merry Christmas.


Now just add a little imagination and...Happy creating!


Our belated Thanksgiving!


I hope everyone had a wonderful Thanksgiving!  It's nice to have a day to slow down and enjoy with our families and friends, a time to be thankful and share time together with gratitude for the many blessings in our lives.

As is sometimes the case, we all can't be in the same place at the same time even for the holidays.  Try as we may!  As much as I would love to be with all of our family it just isn't always possible to achieve with so many of us living in different cities and states.  We do what we can to be together, which is why we enjoyed our Thanksgiving celebration on Friday this year.  I'm always thankful for the time to get to spend with my loved ones, and being able to be together while sharing in delicious foods and special memory making moments adds to that all the more.  It was a smaller than usual gathering this year with only four of us, but that didn't make it any less special.

Thanksgiving dinner was well anticipated with the extra wait time, and

Thanksgiving tablescape


The holidays are always a perfect time for dressing up the table.  I like to work with what I have and change things up and also try different ideas.  I enjoy adding little touches to dress the table for holidays and special occasions.  I find that I don't always have to run out and buy something new for every occasion, I just add little bits now and then, and mix items old and new, to get the look that I want. 

~ My Thanksgiving tablescape ~


There is just something about a lace tablecloth that appeals to me.  I've had this one for years and I feel it dresses up my glass-top table nicely and softly.  I like the look of it, and the lace paper doilies placed under the glass plates seemed just perfect.  You can find the paper doilies about everywhere for just a couple dollars.  My placemats were a markdown at Bed Bath & Beyond and work well with the bronze color in the dining room.   The beautiful little bowls with the gold design and gold rims were given to me by my Mom and are sweet, treasured pieces.  I have just a few plates and other pieces that match them.  

My centerpiece was an arrangement I made a while back, I simply just add and take away to dress it up for different occasions.  I added some fall flowers and pine cones, along with the organza ribbon bows.  I love my gold tableware, purchased years ago.  I do insist on hand washing all the pieces, but they look as good as the day I first got them!  I love anything cut-glass or crystal, like the glasses and the candle sconces, I've had them all for years.   The more that sparkles the better if you ask me!  A cloth napkin is always a nice touch.  They are also a good way to add color or coordinate with your dishes, or they can add to a holiday theme if they have a pretty print.  I look for new ones on discount all the time, and I've even made my own from pretty dishtowels too.     


I found the acrylic place card holders a few years ago in the wedding area of hobby lobby, it was a package of eight of them, and later found the acrylic napkin ring/bud vases there too.  They were both about the average cost of a dollar per each piece, as I recall.  They go very well with other elements in the room, the cut glass and crystal pieces, and another one being my chandelier.  

I like to do different things with the little napkin ring/bud vases by using something that applies to the season or holiday.  Here I used two fall leaves and a small bit of dried corn husk, along with a pine cone I added wire to so it would have a stem to stick down in with the leaves and corn husk.  It kind of reminded me of a turkey when I finished it, even though that was not my plan, but it worked well for Thanksgiving!

A close-up of the place card holder and the napkin ring/bud vase.


This angle is a better view of the napkin ring/bud vase.  A napkin can be placed in the opening there, or not.  I chose not to put the napkin in there this time and only used it for the bud vase.  


I'm always saying, "you don't necessarily have to buy all new things for different seasonal and holiday decor, and they don't have to be expensive either."  I have collected most items over the years, and one of the best times to get new items is after the holiday sales.  I've found many things in the discount bins, and also find great deals on second hand items from thrift stores.  You just need to have a look around and have a plan of what you have, and what you like, or need the most!  It really doesn't have to be expensive to be nice or beautiful looking.  Work with what you have first, then add little extras along the way!  Make it fun, and enjoy the adventure!  


.

.

.

.
Tammy is the design enthusiast behind the blog, Tips, Treats & Treasures, where her creativity is explored with a mixture of her artistic abilities and style through her home decorating, thrifty finds, DIY and creative craft projects, along with her family favorite recipes. She shares through her blog her ideas and helpful tips on everything she has learned over the years and much of which she is passionate about in the hope of inspiring others, with her own unique style storytelling.