Showing posts with label Gadgets and Gizmos. Show all posts

Happy New Year!
~ My new Letter Board ~


Here's to wishing that '2018' is the best year yet!


How perfect that my daughter gave me a letter board with gold letters for Christmas!?!
I love it!  This is the first message I added to my new letter board.

It also has black letters too.  And, my other daughter gave me some fun extras for it.  I may have dropped some "wishing for Christmas" hints!!!  It was very sweet of both of them to to fulfill my wishes!

These have been available for a while and I have seen them when I've been shopping, I just hadn't gotten myself one.  I plan to use this on occasion in my decorating, I have some fun ideas in mind!  I'll share more later, and also be on the lookout for some shared ideas on my Instagram!


HAPPY NEW YEAR! ‘2018’


Cast Iron Skillet - How to Clean and Re-Season


It's amazing how nice my new/old iron skillet turned out after I gave it a good cleaning and re-seasoning.

I couldn't pass up this little cast iron skillet after noticing it at the thrift store.  I thought it would be perfect to use for making desserts for two.  Those skillet desserts are popular at some restaurants and I've been thinking about how nice it would be to be able to make them at home, and now that I have the perfect sized skillet, I can.


This is how the skillet looked when I found it.

At first glance I almost didn't pick it up.  Then I thought about the larger iron skillet I'd gotten from a garage sale some time ago which I brought home, then cleaned and re-seasoned.  I'd had a neighbor/friend tell me all about seasoning and caring for iron skillets.  I knew I could also bring this skillet back to a usable condition just like that skillet I had done before.  The price of three dollars was a great bargain for this thrifty treasure.  I was telling another shopper there how I do this to my iron skillets, she told me she had passed up this skillet and others in similar condition, because she didn't think it was worth keeping and she didn't know how or even that you could, clean and re-season them.

Now that I have done another iron skillet the same way, I wanted to share how easy it really is to clean and re-season a cast iron skillet.  And, no I don't mean just washing it, and then by "seasoning it" simply putting some salt and pepper on it!  Funny thing that this is what the person I was talking to thought I meant!  It really isn't a complicated process, it's well worth the time and effort, and it renders amazing results.

Iron skillets are a worth while investment, and with a little care they will only get better with time and use.  If you have never owned one you will quickly learn it is a pan you can use for many foods, whether frying, baking, or even grilling!  I challenge you to cook a Steak in a cast iron skillet, and then I bet you'll say it's one of the best steaks you ever had!  Oh, and Corn Bread ...it's the perfect pan for that, and Fried Chicken, too!  My Mom has always made her Pineapple Upside-Down Cake in her cast iron skillet, it's the best ever!  I know she has used an iron skillet for just about everything!


Here is how I took the iron skillet from dirty and rusted, to like new again, seasoned and ready to use.


I added about a 1/4 cup of baking soda, along with a little warm water to make a paste, then began scrubbing the inside surface of the skillet.  I used a crumbled up piece of foil and a stiff bristle brush.  I put on some disposable gloves for this step to protect my hands.  I continued scrubbing and the paste began to look dirty and rusty.


I rinsed the skillet and dried it with paper towels.  It didn't look like all of the rust was removed so I repeated the process with baking soda solution and scrubbing until it was all removed, then rinsed and dried it.


Next, I coated the skillet with vegetable oil, I poured in about a cap full, rubbing it all over the entire skillet, the inside, outside, handle and everything!  I rub it on by hand, or use a clean paper towel.  Lard can also be used, I have used oil with much success, and it's what I usually have on hand.


I placed the skillet upside-down in a pre-heated 350 degree oven for 1-1/2 hours.  {Placing it upside-down will prevent the oil from gathering in the bottom of the pan.  I find it best to place a sheet of foil on the rack below to catch any dripped oil or lard.}  I turned off the oven and let the pan cool.  Then it's ready to go!


I recommend not using soap on your skillet.  Some people say it's OK to do that, but the soap can strip away the seasoning, so I rinse the skillet well after each use with warm/hot water, then scrub gently with a little salt if any stuck on foods, then dry it well and give it a nice wipe down with oil before putting it away.  I have also soaked it with a little warm water and then scraped with a foil ball if the other method didn't remove stuck on food.  If your pan is sticking it may just be in need of a re-seasoning.  


With use, and just a little care, your cast iron skillet will get better and better, and it may even become your favorite piece of cookware!


Add Sparkle to Chandeliers & Lamp shades

On a recent visit to the craft store I happened to notice something to add a little sparkle to lamp shades.  I have a chandelier I was fortunate to discover a few years ago at an antique shop.  All it really needed was a little TLC with some new wiring and new lamp shades, which with hubby's electrical skills and my good choice of shades, it was quickly good as new.  And, I really love it!  

Now ...back to present day, or to just a couple of weekends ago actually, when I found something I didn't even know existed, let alone that I needed!
Well, OK, wanted.  Something that sparkles.  Sparkle...for my chandelier!
And, I really love sparkle.  Yes, I do.

What I found are Shade Charms, magnetic lamp shade ornaments.  These can be easily added to lamp shades.
There is wire in those lamp shades, ya know? ...so these little beauties just magnetically *click* on to the bottom of them.  Adding a bit of glamour to your lamp shades!


However, I chose to add the charms to my chandelier instead of the shades.  If your chandelier is metal, as part of mine is, the charms can easily be added to the chandelier just like I did for mine.   And, doesn't it look fancy all dressed up with those pretty charms?!


I sure think it does!  It's like added jewelry for my chandelier.

Here's a close-up of a charm, the little silver part at the top is the magnet.


This is what the package of Shade Charms looked like.  


I'm thinking that I must have more of these now!


Notice in this photo below where I added the left-over of the five in the pack to the bottom of my chandelier, and well, now wouldn't you know I'm considering adding more there?


Although I was a bit disappointed that only part of my chandelier is metal (the scrolls), and the lamp shades of course.  I had thought the charms would also look nice under the round part that is just under the white tubes, but sadly it isn't metal there, either!  UGH! :(  And the very bottom also is not metal, which I considered using the fifth charm for. 

I do like the added sparkle on my beautiful chandelier.  And, now to decide, should I get more or not?!  One of those forty-percent off coupons will most likely come into play in helping with my decision.  I'll be considering it, for now!


Here's to adding a little sparkle!...


Curtain Tiebacks - Easy/No Sew


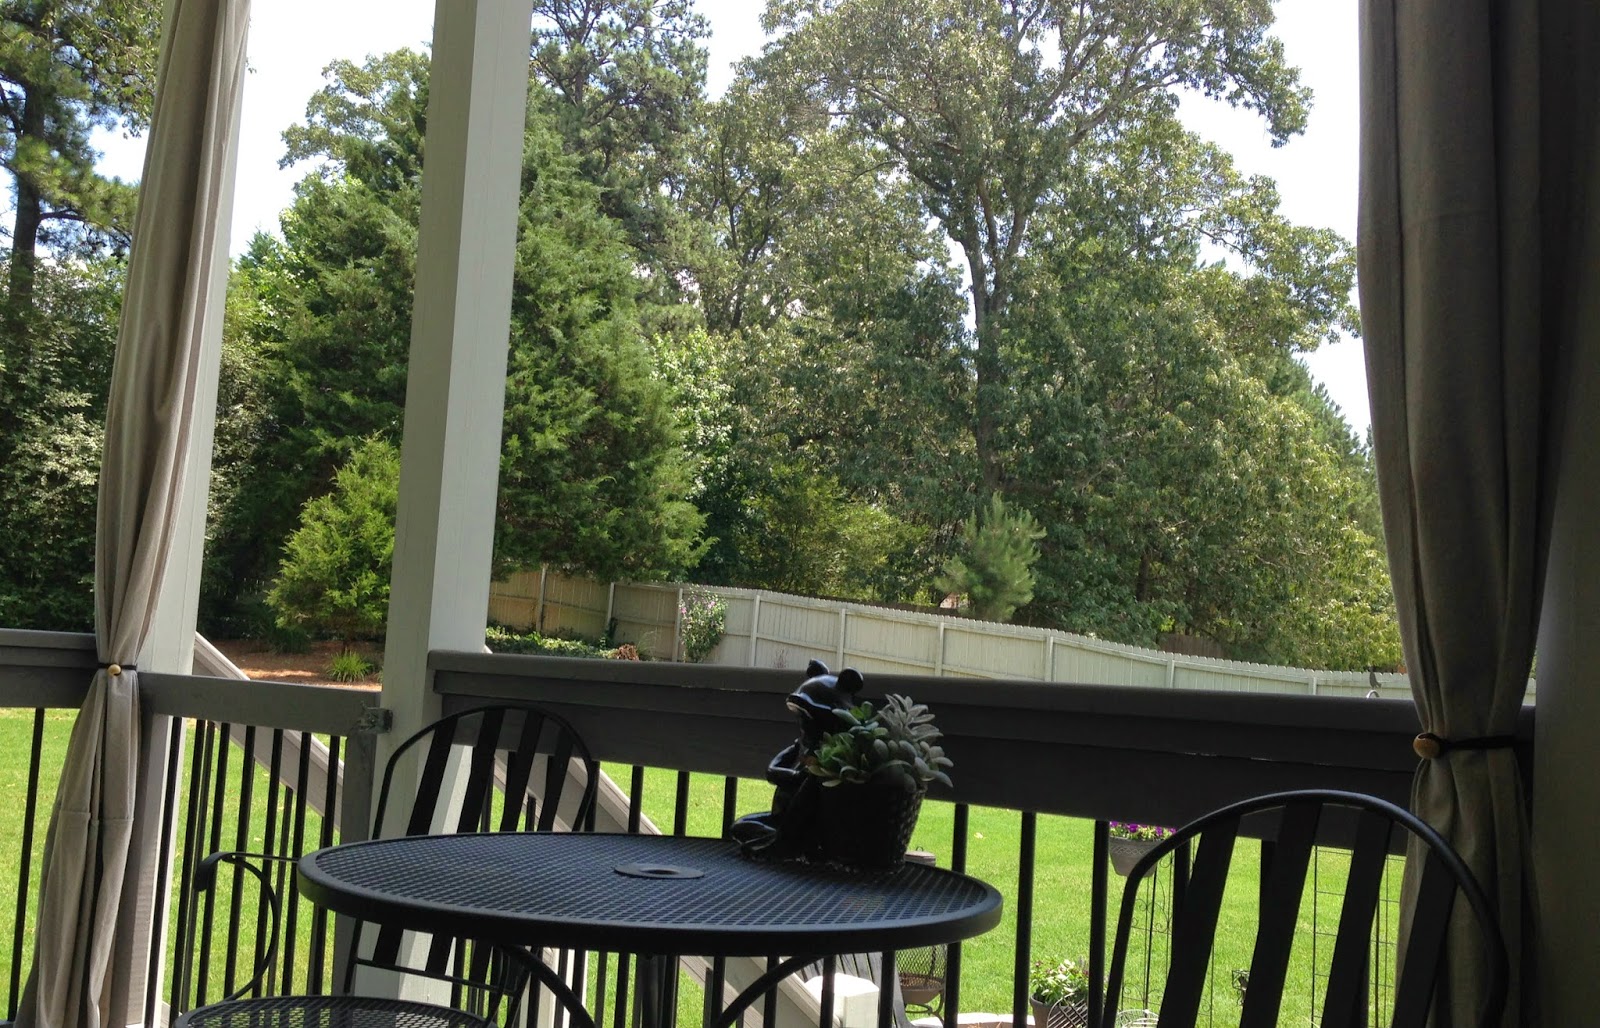
I created curtain tiebacks for my outdoor curtains that were easy, no-sew, and inexpensive! 


After feeling quite pleased with my creative solution I wanted to share it and show how I did it.  

I was in need of something simple, easy to use and inexpensive, to be used as tiebacks for our curtains on our covered porch.  You can learn more about our inexpensive outdoor curtains project here.  We added the curtains not only for privacy, but also for added shade from the sun, and added warmth in the winter when we use our fireplace and an outdoor heater.

They also cut down on the rain that sometimes gets on the porch when it's really raining hard.  We had been using left-over clips from the curtain rings we used to hang the curtains, along with cup-hooks secured to the deck rail to hold the clips and curtains in place when we have them closed, and/or when the wind is blowing them.

However when the curtains are open or pulled back and the wind blows, there's also a need for something to keep them gathered and under control.  I had an extra set of long black shoe laces that worked as a temporary fix when tied around the curtains.  So I purchased a few extra packages of them since I needed several overall, plus they were inexpensive and I was ok with the look.

That works just fine most of the time, but if the curtains have not been tied back and a wind picks up, well I'm out there grabbing them from flight as I think to myself "Auntie Em, Auntie Em!", and I'm trying to tie the laces on quickly!  Whew!  


I knew I needed to come up with a better plan.  A quicker, easier plan!  My creative mind was stumped until the "Ah ha" moment arrived, and I had it!  I was thinking...bungees?  My kids have often called me the "bungee queen", because I can sure find ways where bungees do come in handy and are quite useful in life!

My thoughts are often "I can Tammy-rig it or bungee it!"{wink}  Similar to bungees, I've used stretch hair bands for cord control on many different items and I also did a blog page on that, you can see it here if you like.

(OK, back to the task at hand!)
My original idea was to use large buttons and stretch cord.  While shopping, I discovered some stretch headbands that were already about the perfect length that was needed, but I couldn't find the buttons that I'd had in mind, or that were just-right with large enough holes for the hair bands to fit through, or without metal, or that I thought would hold up well.

I then decided instead to look for some large hole beads and did find round, wooden beads about an inch in diameter.  "Perfect, that will do!"  These tiebacks were a cinch to make and inexpensive as well, which is what I was looking for since they are outdoors after all, and they are not unattractive.  The best part is how quick and easy these are to use, and they do the job nicely!  The cup-hooks secured to the deck rail help to keep them in place.


Now I can add these tie backs rather quickly, and remove them quickly too.  Even when it's windy!


... ... ... ... ... ... ... ... ...


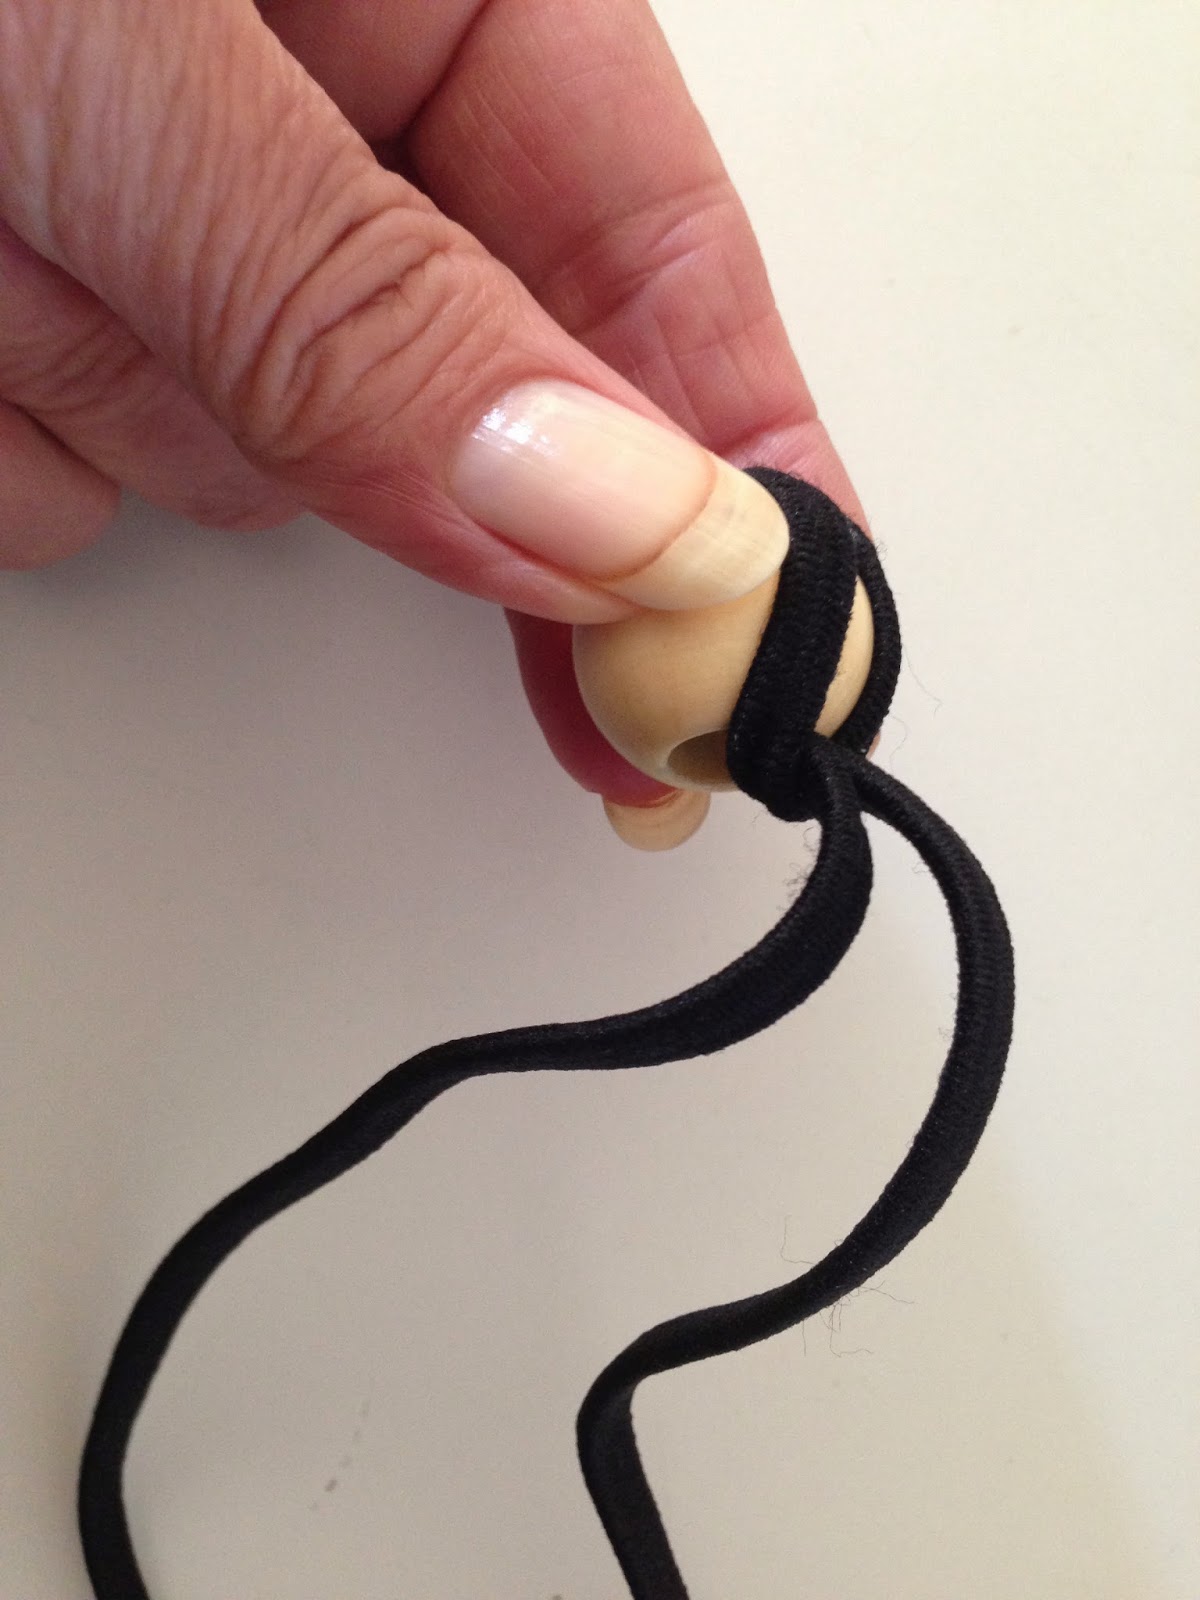
Elastic headbands and large hole beads = Curtain tiebacks


Here are the instructions for how easily I made the tiebacks.

Push elastic band through the bead.


Pull other end through the loop coming out of the bead.


Pull to snug up to the bead.


Loop though one side of the first loop that is around the bead now,
then pull snugly to lock the elastic band in place.


When in use the bead locks on by passing through the loop from the other end.
(These are similar to the pony-tail wraps that have beads on both ends)

ta-da!


A close-up of a tieback in action!


I love it when a plan (ahem)...curtain comes together!


Cookie Dessert Bowls


This is a great idea and oh so cute.
Make cookie bowls for serving desserts, ice cream or fruits.
Turn the muffin pan upside down and put cookie dough over the top of each cup then bake.


You could use any regular muffin type pan for this, or mini muffin pans would work too for making small cookie cups or bite sized desserts.  Although this cute pan was used for the example above, and it would be great for mini cakes too.
I found this one at the online store at Wilton.com.  


Sugar Cookie Bowls

Ingredients:

2 3/4 cups all-purpose flour
1 teaspoon salt
1 cup (2 sticks) unsalted butter, softened
1 1/2 cups granulated sugar
1 egg
1 1/2 teaspoons vanilla extract
1/2 teaspoon No Color Almond Extract
Makes:

12 bowls.

Instructions:

1. Preheat oven to 350°F. Spray the outside of each bowl cavity of Ice Cream Cookie Bowl Pan with vegetable pan spray.

2. In medium bowl, combine flour and salt. In large bowl, beat butter and sugar with electric mixer until light and fluffy. Beat in egg and extracts. Add flour mixture to butter mixture, 1 cup at a time, mixing after each addition.

3. Roll out dough on generously-floured surface to 1/8 in. thickness. Cut 4-1/2 in. circles from dough.. Drape one circle over each bowl cavity of pan, pressing to form smooth surface.

4. Bake 11-13 minutes or until cookie cups are firm and golden brown. Cool on pan on cooling rack 10 minutes. Loosen bottom edges of cookies from pan using small spatula. Carefully remove cups from pan and cool completely. Wash, dry and spray pan; repeat with remaining dough.


Dessert is even better when you can eat the bowl!...
~ Tammy ~


~ Tammy's Tip Today ~ Helpful Tips / Re-used Gadgets


Here are a few helpful tips or tricks using gadgets in another way that will have you saying...
"Why didn't I think of that?" 


I love this one! 
Use a staple remover to add or remove items on your key ring. 
This will prevent frustration and save your fingernails too! 


 "Hey, now this is pretty clever", I say!
Need an inexpensive cookbook holder? Use a Hanger with clips. 
This would be great when using instructions for putting something together too.


Always keep your pen or pencil handy and on the ready with a Binder clip.  Attach to your notepad and it's there when you need it!

Can also be hung for handy quick notes, phone numbers, shopping list, etc.
I keep mine on the fridge!*wink*


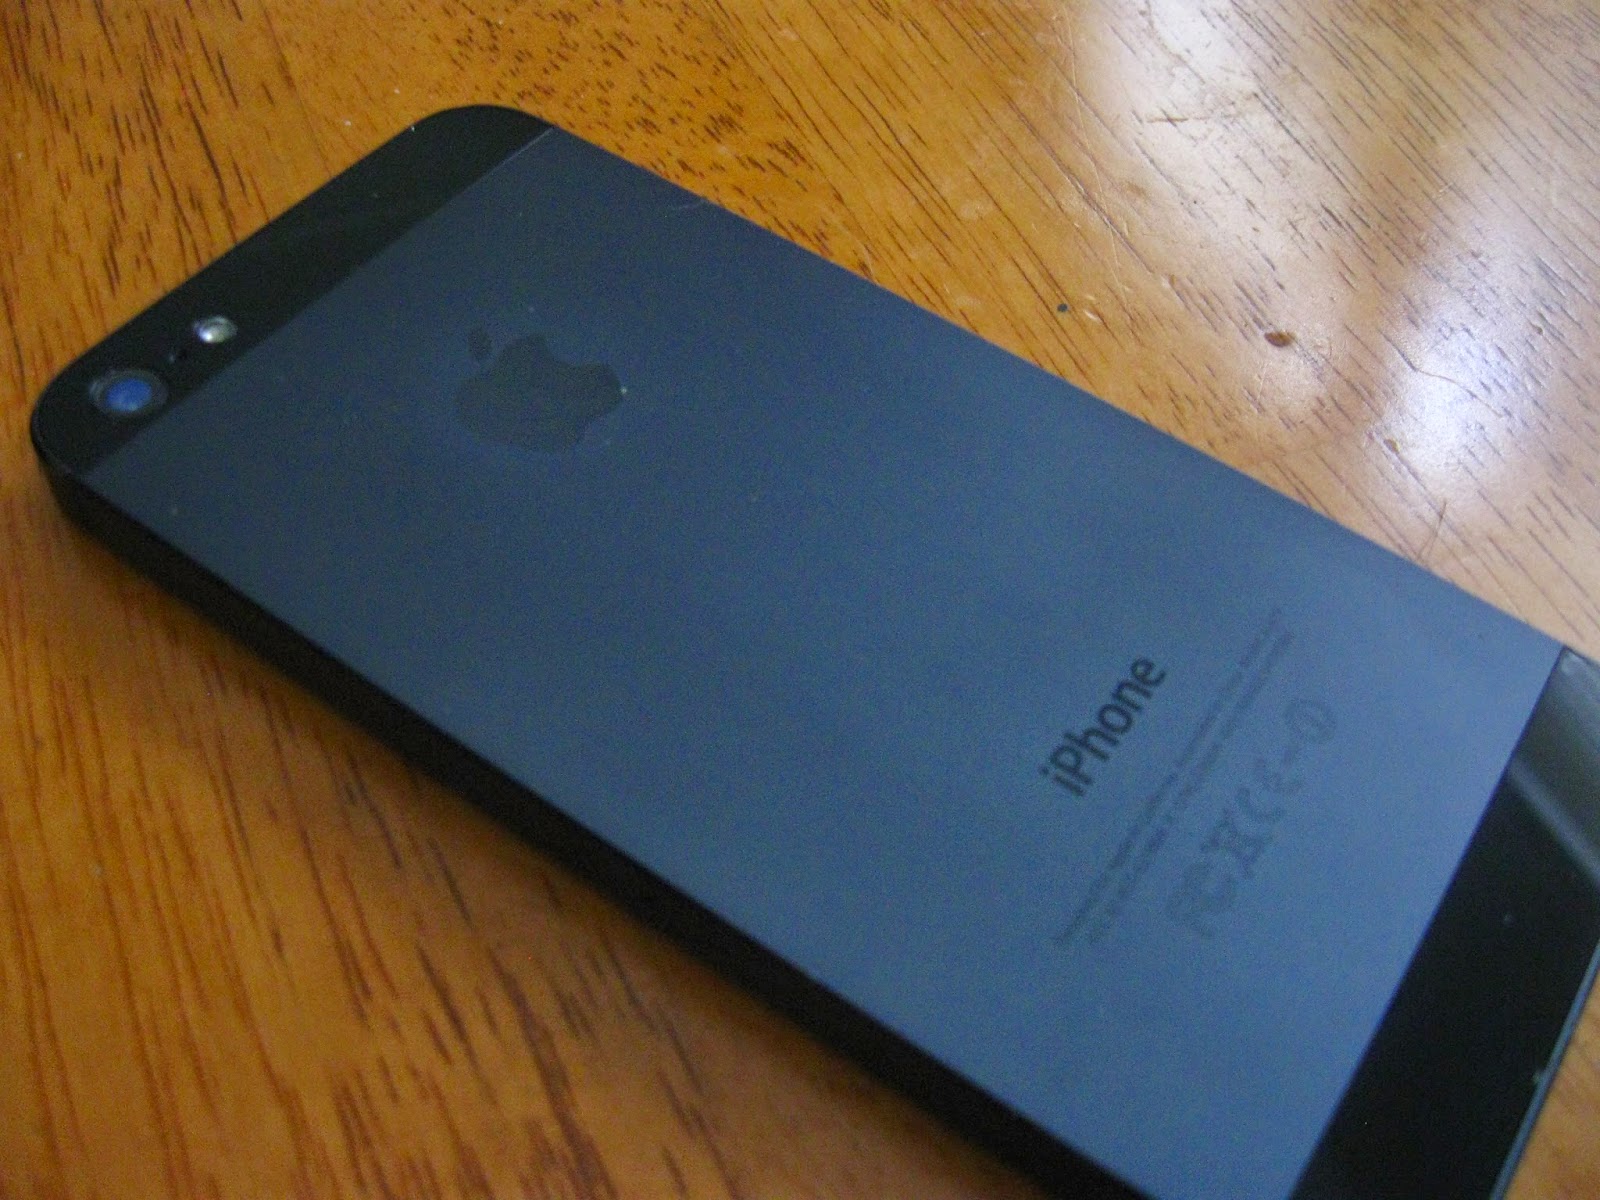
My new phone - iPhone


iPhone 5


Can you hear me now?...

I'm excited about the purchase of my new iPhone 5 over the weekend, and so far I am loving it.  It has been about four years since I last upgraded!  I've had the first generation Droid for all of that time.  My Daughters have been asking me for a very long time, when was I ever going to do this?  Change! ...that is all I can use as an excuse for now.  Not wanting to make a *change* actually.  Being comfortable with what I had was, well, comfortable.  And, it can also be a bit time consuming to learn something new, especially if it's a techie gadget! ...for me anyway!

I became more, and more disappointed (uh, make that frustrated!) with the battery life or lack there of, with the previous phone for quite a while.  It's been a good phone and has served its purpose.  But, we have to keep up with technology as far as these new 'smart phones' go.

Now I look forward to a much longer battery life and the longer use with my new iPhone, along with all of the new things I can do with it.  I do really like the Siri feature on the iPhone 5 which (in case you didn't know) uses voice activated commands to do many tasks such as, sending a message, making a call or searching info.  I also like the ease of adding my email accounts to one place, and how easy it is to access them.  I look forward to getting to know more about my new toy/phone!  A 'change is good' moment for me!  So ...can you hear me now?


Why did it take me so long?{shrug}...

~Tammy~

~ Tammy's Tip Today ~ Fun gifts ideas


Looking for a gift for the person who has everything, or something out of the ordinary?
You're sure to find it here! - gagsandgoods.com.  There are many cool gadgets, fun gag gifts, prank gifts, adult humor,
and fun drinking gear items.  This place has something for everybody, and is a good source for that unexpected, "what do I get?" gift.


I think these look fun and interesting and would be great for parties and gatherings.


Adhere fun name suction charms to any glass or bottle.


~ ____________ ~ ____________ ~ 


Identify your bottle with fun Bottle Markers.


~ ____________ ~ ____________ ~


Keep your drink cold and your hand warm with The Can Grip.


~ ____________ ~ ____________ ~


Reusable silicone drink tags with dry erase marker.


Happy shopping and sipping!...


-The Vinturi Wine Aerator


~ The Vinturi Red Wine Aerator ~

If you drink wine and love wine like I do, you'll want to have one of these!  I purchased one as a gift for my Hubby, and I'll admit it was also for me too!  Love those types of gifts!  We have always liked to open our wine and let it breathe a while before serving.  If you decant your wine to do this it takes a little while for it to be effective.  The Vinturi does it for you instantly, and you only need to do a glass at a time!  It's quick and easy to use.  It noticeably enhances the flavor and aroma of the wine.  

Holding the aerator over a glass you simply pour the wine slowly through the aerator, and it draws in and mixes the proper amount of air, for the right amount of time.  Try a blind taste test of one glass of wine poured using the Vinturi and one poured without, I feel certain you will notice the difference!  

This is surely a must have for any Red wine lover.  There is also a Venturi for use with White wine too.  Red and White wine require different aeration.  The Venturi Red Wine Aerator is not extremely expensive at a cost of about thirty dollars, and comes with a no-drip stand (pictured below).  

I purchased the Vinturi Wine Aerator Tower Gift Set (pictured below), from Williams-Sonoma.  It is designed so you can place a wine glass underneath the aerator, while it sits in the tower.  But in all honesty we have yet to figure a way to pour wine through the aerator, while it's sitting in the tower, and not have wine leak down the back side of it as we pour the wine.  A friend tells me they have no problem with theirs, perhaps it is operator error?  So I can't fully recommend the Venturi Wine Aerator Tower (but it does look pretty), although I do wholeheartedly recommend the Vinturi Red Wine Aerator!


Happy sipping...


Chocolate Fondue


Look at that!  A Fondue party in the making! 

I purchased a fondue pot to give to my daughter for a birthday gift last year, and her Sister got her the chocolate needed to go with it.  Chocolate fondue instead of birthday cake!  We had all the goodies for dipping: Strawberries, Brownies, Bananas, Marshmallows and Pretzel Sticks, and that made it quite the fondue experience!  We decided later to also add some peanut butter to the chocolate too....mmm.  It was delicious!   It was a fun day, and now it's also a great delicious memory!

I found the Wilton Chocolate Pro-Chocolate Melter pot and Fountain & Fondue Chocolate to go with it at Jo-Ann's fabrics and craft store.  I just knew my daughter would absolutely love it.  Getting to enjoy it with her made it even better, and that much more special.  Especially since I am a total chocoholic, as she is too...she definitely gets it honest!

This would be a fun take-a-long to a party or a pitch-in.  If you don't have a Chocolate Pro fondue pot you can melt chocolate in the microwave (or in a double boiler).  I've done that on occasion to serve with strawberries as a dessert, or an anytime treat.  I use chocolate chips - semi-sweet or milk chocolate.  Simply follow the directions on the package for melting the chocolate, then dip some fruit pieces, marshmallows, cake pieces or other goodies into the melted chocolate!  Yum! 


Do the fondue!...
~Tammy~


Shopping at the Red Barn Flea Market

A day at the Market

Recently I had the opportunity to visit the Red Barn Flea Market and Plaza, located in Bradenton, Florida while my husband and I were visiting his parents, who live near there.   My Mother-in-law had some interesting and unique coasters at her house which I told her I really liked.  She said she had bought them at the Red Barn and would be happy to take us there the next day to do a little shopping, and I could look for them while there.  We went the next afternoon.

The place was huge, containing many shops selling everything you could imagine.  Over 600 booths and specialty shops, also some good eats and beverages too.  There is something for there everyone.  Some shops were selling beautiful handmade items made with shells, printed t-shirts, home goods, sporting supplies, and there were also many jewelry shops.  We were at the Red Barn for a few hours and I know we didn't see it all!  We also were able to locate the coasters I wanted, and I actually think I could have stayed all day in that little shop that sold them, so much to look at and like in there.


*** *** ***

The Coasters: These unique coasters are double layered acrylic squares, each have a circle cut out of the top layer and a square napkin is placed between the layers. They kind of resemble CD cases.  I think these coasters are practical and pretty cute too.  I really like the ability to change them with the use of different colored, festive or themed napkins.

Not much to look at own their own...


But, add a napkin and these fun coasters go with any occasion!  Birthdays, holidays and more!


I also purchased these wine-themed napkins from the same shop,


...and a napkin holder, which works well as a holder for the coasters too!


What a great find and so cute!


*** *** ***


I also enjoyed shopping at one of the jewelry shops and I bought some new add-a-beads and a new style of bracelet to put them on.  
Loved these purple beads!


I filled the bracelet nicely with old and new beads!


I enjoyed the visit to the Red Barn Flea Market and now have my coasters to remind me of the fun shopping day there, and memories of a great time with family!


The Happy Shopper!...


.

.

.

.
Tammy is the design enthusiast behind the blog, Tips, Treats & Treasures, where her creativity is explored with a mixture of her artistic abilities and style through her home decorating, thrifty finds, DIY and creative craft projects, along with her family favorite recipes. She shares through her blog her ideas and helpful tips on everything she has learned over the years and much of which she is passionate about in the hope of inspiring others, with her own unique style storytelling.