A New Shade of Roses


I'm  loving the new look of what was a plain little lamp, with what I did to the shade.  


I added roses that I made using crepe paper!

I think it is lovely, and the paper roses are super cute too.


...__________________...


While searching for new lamp shades, I found a few photos of pretty lamp shades decorated with roses.  I was thinking these would be pretty or even add a romantic touch for a bedroom, also they would be so cute in a little girls room too.

Then I was quite surprised by the price of them.  


This rose covered pretty from Pottery Barn was $99, just for the shade!


They also had these that were $59 for the shades only.


Wow!  That was certainly more than I wanted to spend.


...___________________...


I came across this flower craft idea from Country Living for a lamp shade decorated with silk flowers.  I thought, how cute is that, and what a great idea?!  I'm a crafty gal, I could just make one myself!  Although silk flowers can be costly, if luck would have it that the roses be on sale at the craft shop, this might not cost so much to make.  

My crafty mind was making plans!


...__________________...


Then I started thinking about the paper roses I had recently learned how to make.  Hey, that would work and talk about inexpensive too in comparison.  That would also be a great idea, and would look pretty as well!


...__________________...


I liked the shape of this cute lamp shade I got from a department store for $9, the lamp was $7, and the crepe paper was a $1 for two rolls from the dollar store.  So my cost was way less than the other shades alone.


I got busy making some crepe paper roses, you can see how I made them here.  I decided not to cover the entire shade, so I made larger ones for around the bottom and smaller ones for around the top.  I used hot glue to attach the roses to the lamp shade.  


...__________________... 

I think it's a lovely lamp now!


I really like the new look.  It is a "new shade of roses."


I just may have to make more in a different colors...


Welcome To The Back Porch


This has become a favorite place to sit and relax!... or as I often put it, to chill-lax!

You may already know that we recently had a new covered porch/deck completed at our home.  It's a wonderful new outdoor room and we are so glad we were able to have this dream fulfilled.  We spend every minute possible enjoying our new space.  We're very happy with it!

...__________________...


While shopping back before the holidays, I found the perfect sign for our back porch...


Perfect isn't it?
 I love it when something is so perfect, just like it was planned or meant to be!  The cute sign was even painted with the perfect colors to match our porch, with gray letters on a black background.  It was a must have for sure!  I had taken photos of the sign after we found the perfect place to display it, but I realized I hadn't actually highlighted or shared them.

...__________________...

We've been fortunate to have had a pretty mild winter for the most part, with only a little amount of time that was too cold to be outside.  Our weather is actually looking up, we've had some real nice days of warmer temperatures over the past couple of weekends.  I'm hopeful for the end of winter any day now!

...__________________...

We really do enjoy every minute that we can outside on our back porch, and we look forward to many, many more. 
If it's a nice day or evening, more often than not you will find us sitting out there...chill-laxing.

That's perfect!


Welcome to the back porch...
~ Tammy ~


Old Fashion Roses made of Paper


These paper roses above remind me of old fashioned roses, kind of like the ones pictured here below.


I love roses, all kinds of roses.  Of course top of the list is real roses, but I also like silk roses, or faux roses too, after all I am a crafter.  Now I have a new appreciation for paper roses.  I've been making paper roses, I made them using crepe paper ribbon.  I made a few in just a matter of minutes.

I had viewed a few different types of paper flowers, and roses, along with how to make them via a few online searches.  I felt they were a bit confusing or didn't quite offer enough directions though.

I combined all of my new found knowledge into the technique I used to make these crepe paper roses.  I also have a couple of other variations that are slightly different, yet just as easy to make.  I will share my technique for making those too, very soon.

Since I am working on a project in which I will be using this type, I started with that first.  I prepared a few examples of the steps taken to make my paper roses.  They really are easy to make!  All you need is crepe paper ribbon and glue.  I used clear glue, but hot glue works well also, just be careful with the 'hot' glue and use it sparingly.


For each rose I used about a 25 to 30 inch piece of crepe paper.  Folded in half the whole length.


Starting at one end make a fold, forming a small triangle.


Start gently rolling inward forming a thin roll until most of the triangle is gone.  


This starts to form the center of the bud, and you now have a tail between your finger and thumb.


Bend the paper backwards away from you and form another triangle, then again roll gently inward until most of the triangle is gone.


While still holding the tail , fold back again and repeat, fold and roll, fold and roll...


It should look similar to this now. 


I add a drop of glue occasionally throughout the folding and rolling to secure.


Continue around the edge with more folding and rolling.


The longer the paper the bigger the rose!


Add glue at the last fold then tuck the tail backwards and glue it to the back to secure in place.


Back view of the rose.


Finished folding, rolling and gluing.  You could stop here if you like, but I prefer to add the next step.


Now scrunch/squeeze gently all around the petals to puff up a little.


Ta-da!  A Paper Rose!
This helps make them resemble old fashioned roses.


Now make more!  I think each rose is a little different and that is fine.  


Have fun and craft on!...


Aeon - Our Happy Boy


Ever see a dog smile?


That's a dog smile!

...__________________...


Aeon acts like he's one happy dog most of the time, and he sure seems to smile a lot.  He is still a whole lot of puppy, over 80 lbs worth, and has a sweet nature about him.  He's very playful and energetic, and he loves to play with a ball or a toy, and he will challenge you to take it from him.  Aeon has proven that he is capable of being left home alone and is a very good dog patiently awaiting our return, and looking for a reward treat.  We have always left some Jazz music on for him when we leave, and he seems to just mellow into it and usually looks like he has been asleep the entire time we were gone.  Our Jazz loving dog!  He's truly our "spoiled brat pup" too!  He's so miss treated, don't ya think?!

...__________________...


I gave him an empty water bottle and this is a new found love-of-a-toy!  He crunches and munches on it and he tosses it in the air, chases it around the yard and has a big ole time with it!  That is, when he is not looking for something else to taste or chew on like an old tree branch, pine cone or leaves.  The weather has been so enjoyable this past week that we all want to be outside every minute to just soak it all in!  Aeon especially likes getting to run free in the yard and just be a dog!


Yes, he definitely smiles!


...__________________...


He has captured my heart and he sure makes me smile too!...


A Message to my Valentine - Create a reusable note board!


I made a special gift for my Valentine!  


A reusable note board I can leave messages on for him.


Isn't it sweet?

I had seen a similar idea and thought it would make a great Valentine's Day gift to my Valentine! 

I think it's pretty sweet! 


I first created a note on my computer (the hearts and the "I love you because..."), then printed it using my printer. I used an 8 x 10 sized photo frame.  I cut the paper to fit, and inserted the sheet of paper into the frame.  The glass can be written on with a dry erase maker, just like on a dry erase board!  I also added a few of my handmade paper roses to the frame.  I gave him the gift after our Valentine's Dinner Date.  Above is the first message I gave him.  


I woke this morning and found he too had left me a message...


I began my day wearing a big smile.


I do love him and our dog!...{smiling}


Happy Valentine's Day


Wishing you a very ...

Happy Valentine's Day


filled with love, laughter and special moments to cherish forever...


{Me and My Valentine}


XOXO...


Hearts and Love


I had fun putting a little touch of Hearts and Love on display for my February and Valentine's Day themed decor.  I gave myself a challenge in doing so of only spending a minimal amount of money, and using items I either already had or something I've made.  

...__________________...


Challenge accepted!


I have had this pretty beaded gold heart box for a while, it looks nice near the little glass candle holders that I simply added a small felt heart to the inside of, and an added organza ribbon tied into a bow.


...__________________...


This pretty red heart that I made, is displayed on a gold leafed charger plate and has been featured here on my blog recently.  The white ceramic heart can be drawn on with a dry erase pen.  I gave it some Love!


...__________________...


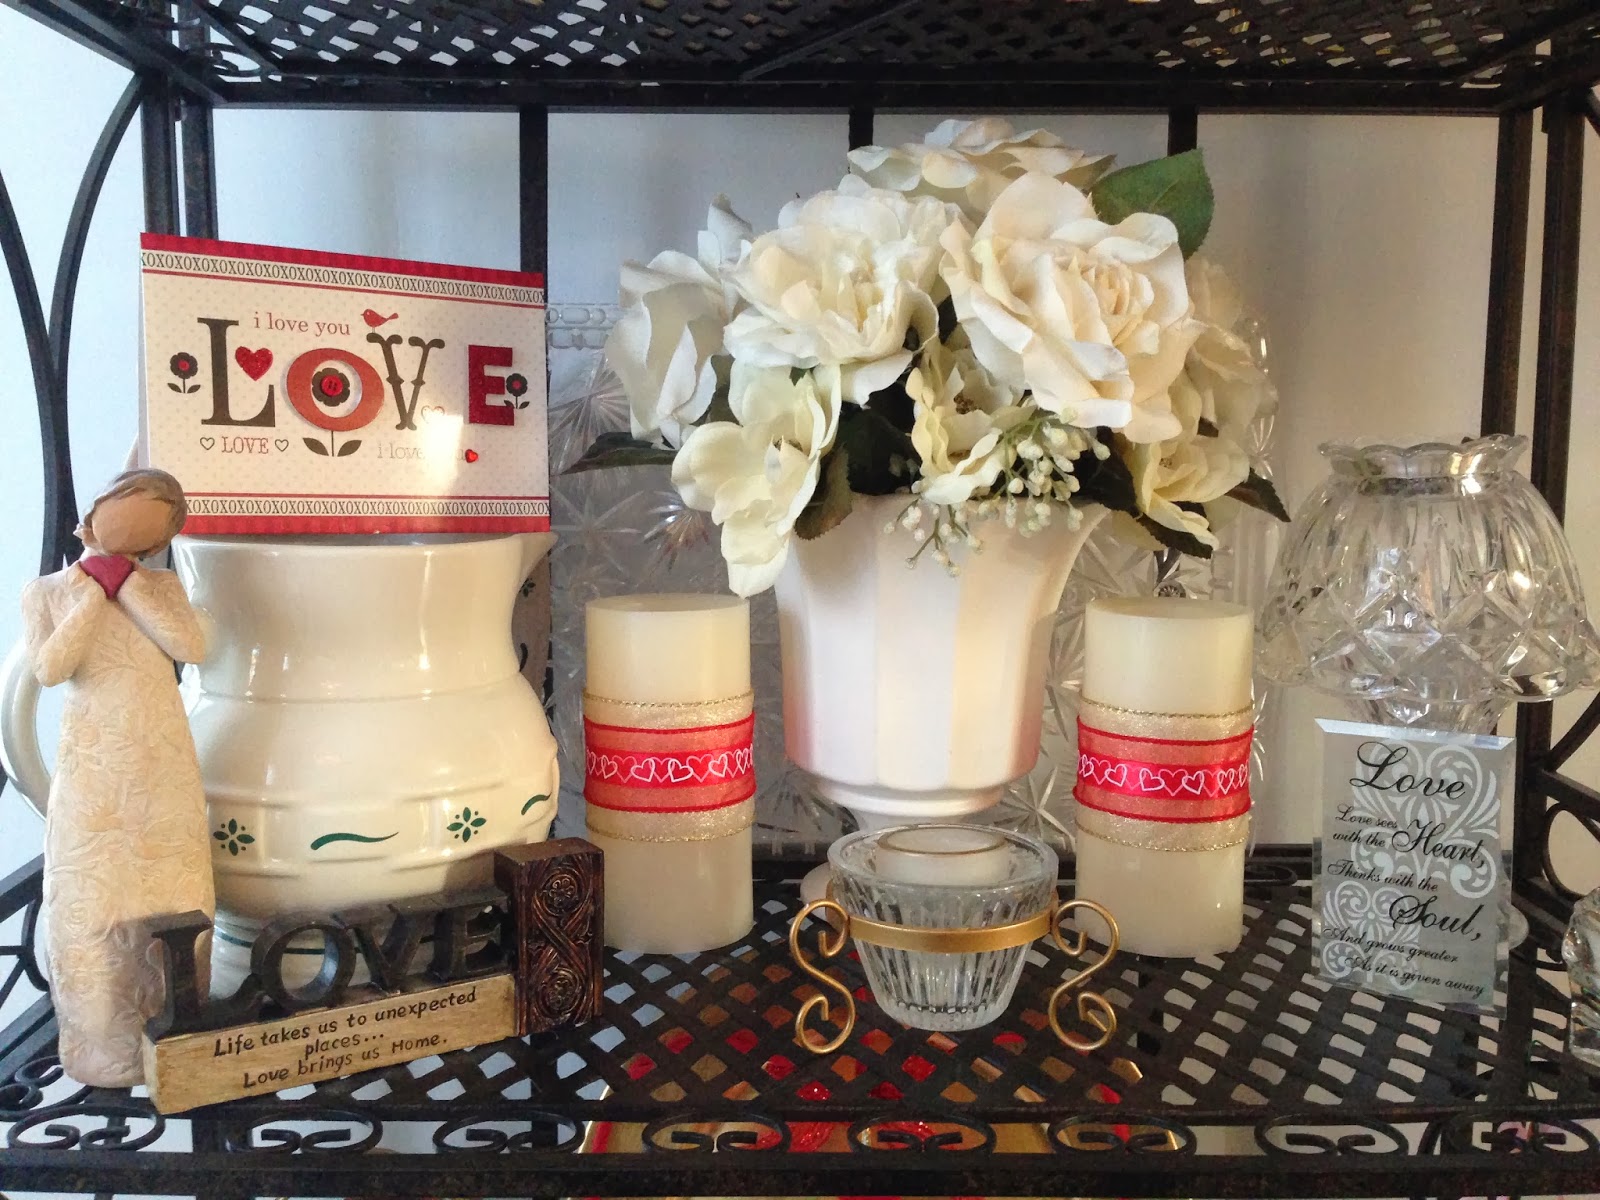
Love, Love Love...I think this was my favorite shelf of the three.  A few "Love" messages, a couple of them are old favorites of mine and a cute greeting card.  Two pillar candles that went from plain to Love-ly with the cute ribbon detail, I also shared a how-to here for these recently.  My "I Love You" sculpture by Willow Tree, a Valentine's Day gift from the Mister last year.


...__________________...


Hearts and Love...


I heart my Heart Candles


Candlelight is a nice touch for any time or any occasion.  Faux candles, those types that are battery operated, are very popular right now.  I enjoy using them for soft candle light throughout my home.  And the extra safety aspect that goes along with using them gives great peace of mind since there isn't an actual flame, or the worry if one is left unattended.  I have several faux or flame-less candles, I even use them outside on our patio too.  I like to embellish mine, change them up and make 'em pretty, mostly for the change of seasons or for holidays.  The crafty girl in me just has to do it.  I have to!  It's so easy to change the look, make them your own, and have them match or add to your decor.

With it being February and Valentine's Day approaching, I wanted use my faux candles to add to my "Hearts and Love" display.  I had some left-over ribbon from the holidays, and I picked up some cute red ribbon with hearts on it from the dollar section while shopping recently. I simply cut each ribbon to length to wrap around the candle, added a dab of glue, and voila!  With a little layering of different ribbons I had just the look I wanted.  If you are not going to see the backside of the candles, using some scotch tape would work for securing the ribbon and making it easier to change or remove later as well.


I (heart) them!...


Hearts and Crafts


A snow day is perfect for crafting!  Well we are actually having an ice storm here, and we southerners are stuck inside for now!  Since I've been in a heart mood and thinking about Valentine's Day coming up, this is where my mind wandered off too today as I try to not think about the weather.  A little paper and my imagination was all it took to pull this cute little heart together, well maybe a little glue too!  The pink heart is foam, but the rest is paper.  I cut the edge off of a paper doilie for the lace.  I used crepe paper ribbon for the rest, even the roses...and aren't they cute?  Occasionally I was thinking about Spring and pretty flowers, so I think that is where the idea for roses came into play.  For now I'll just be enjoying more hearts and crafts!  


...  ...  ...  ...  ...  ...   ...   ...   ...


A little heart love for my door


Hoping Spring arrives early this year!...


.

.

.

.
Tammy is the design enthusiast behind the blog, Tips, Treats & Treasures, where her creativity is explored with a mixture of her artistic abilities and style through her home decorating, thrifty finds, DIY and creative craft projects, along with her family favorite recipes. She shares through her blog her ideas and helpful tips on everything she has learned over the years and much of which she is passionate about in the hope of inspiring others, with her own unique style storytelling.